
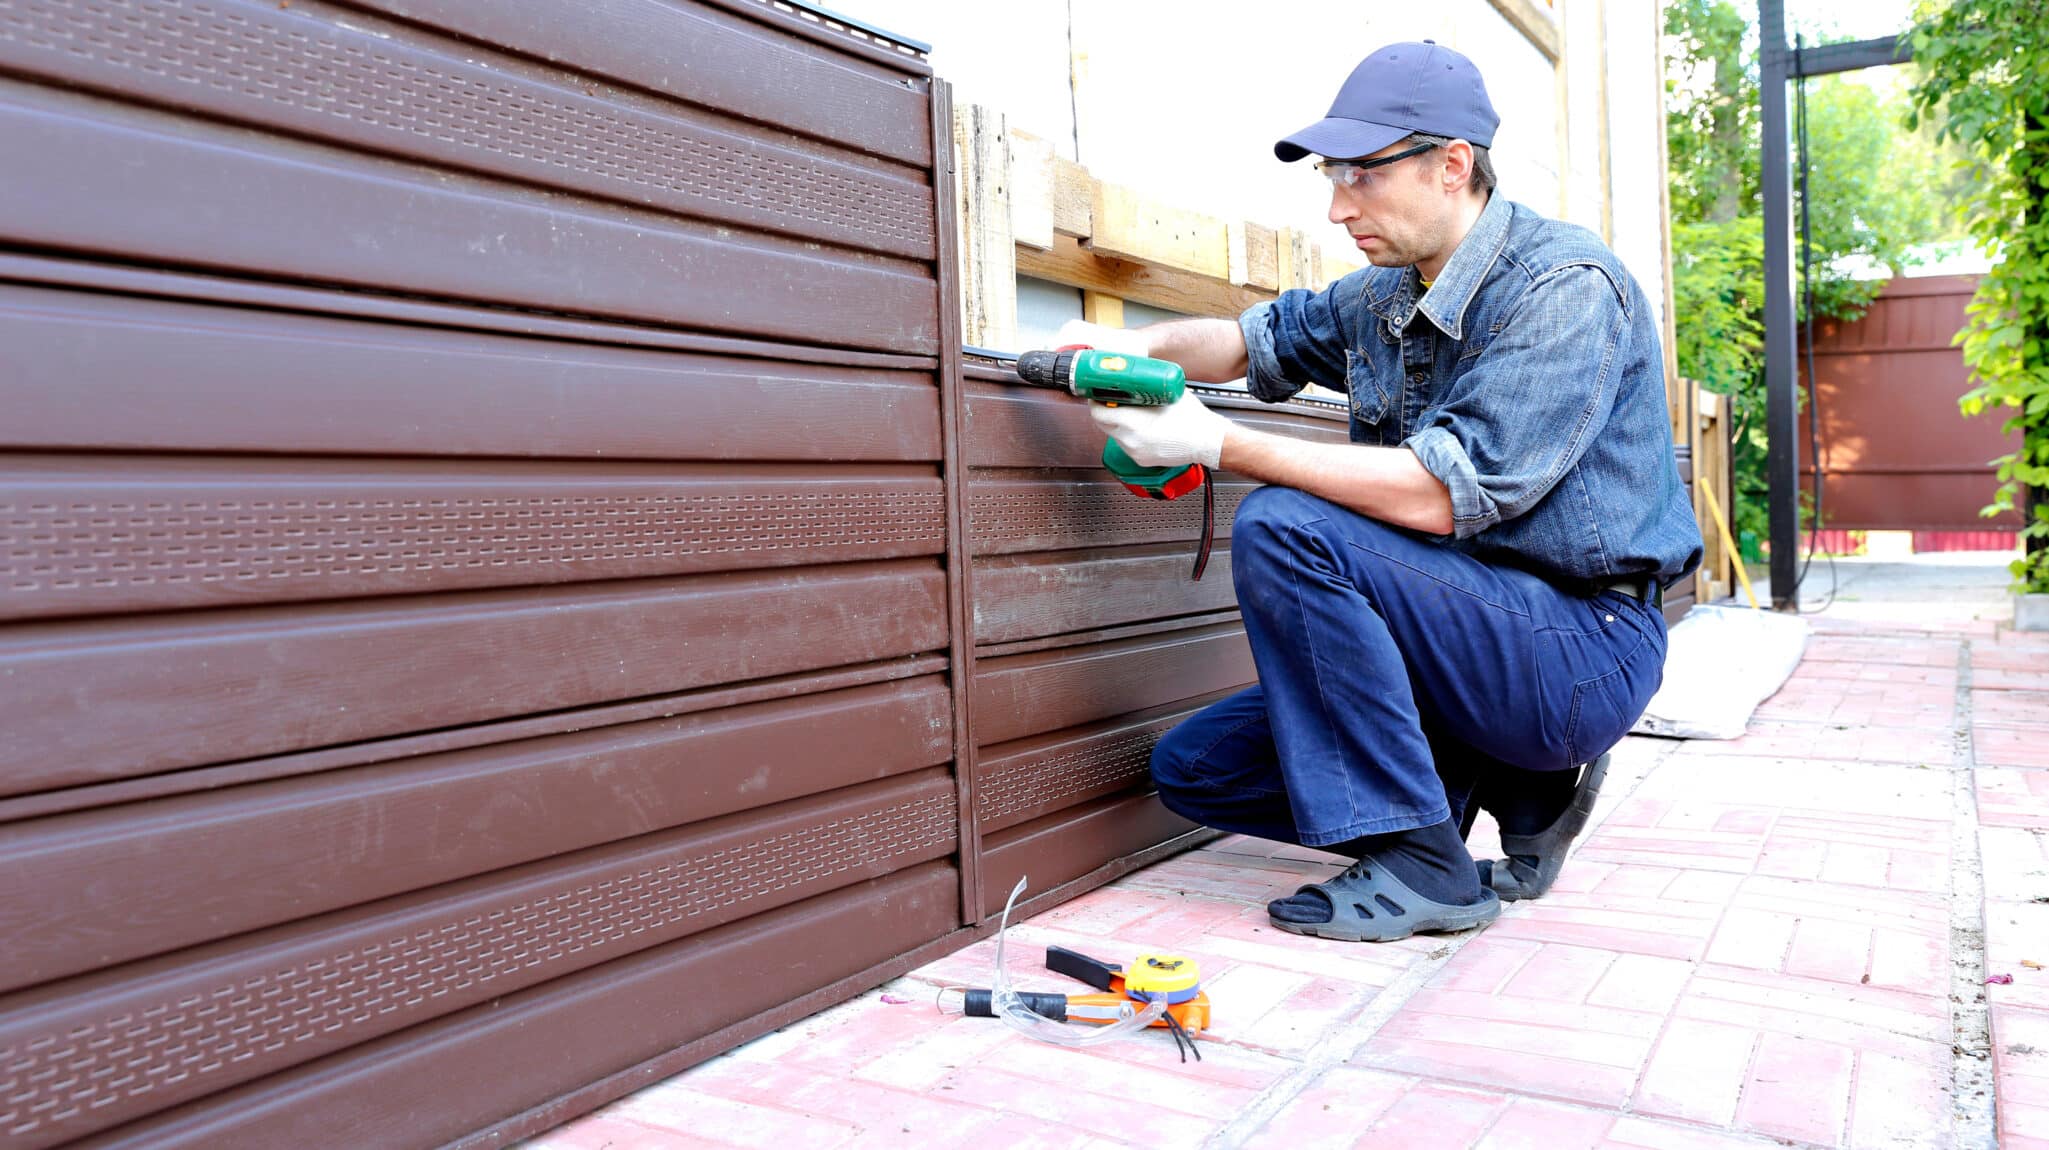
Vinyl siding installation is a significant investment that not only enhances the aesthetic appeal of your home but also provides durable protection against the elements. At Premier Roofing, we understand the importance of a flawless vinyl siding installation process that ensures longevity and visual excellence. In this article, we’ll share our expert tips to ensure your vinyl siding installation project is a success, reflecting our commitment to quality craftsmanship.
Tip 1: Proper Planning is Key
Before diving into vinyl siding installation, thorough planning is crucial. Assess the condition of your existing exterior, take accurate measurements, and choose the appropriate type and style of vinyl siding that complements your home’s architecture.
Tip 2: Inspect and Prepare the Surface
A solid foundation is essential for a successful installation. Inspect your exterior walls for any signs of damage, decay, or moisture issues. Addressing these issues beforehand will ensure that your vinyl siding adheres properly and remains secure.
Tip 3: Invest in High-Quality Materials
Selecting high-quality vinyl siding materials is a fundamental aspect of a successful installation. Opt for siding that offers durability, UV resistance, and color retention. Premier Roofing can guide you in choosing materials that are well-suited to your climate and preferences.
Tip 4: Ensure Proper Ventilation
Proper ventilation is essential to prevent moisture buildup behind the vinyl siding. Install breathable materials such as fan-fold foam insulation to allow air circulation while providing additional insulation.
Tip 5: Use the Right Tools and Techniques
Having the right tools and using the correct installation techniques are paramount. Precision is key when measuring, cutting, and fastening the vinyl siding panels. Employ techniques such as overlapping and angling to ensure water resistance and a seamless appearance.
Tip 6: Start with a Level Line
Begin the installation process with a level line to ensure that your first row of siding is straight. A well-aligned first row sets the foundation for the rest of the installation and contributes to a polished finished look.
Tip 7: Allow for Expansion and Contraction
Vinyl siding expands and contracts with temperature changes. Leave a small gap at the ends of each panel to allow for this movement. This prevents warping and buckling during extreme weather conditions.
Tip 8: Pay Attention to Detail
The beauty of vinyl siding lies in the details. Ensure that all joints are tightly connected and that trim pieces are accurately installed. Take your time to meticulously fit corners, windows, and doors for a professional finish.
Tip 9: Follow Manufacturer Guidelines
Each vinyl siding manufacturer provides specific installation guidelines that should be followed closely. These guidelines offer insights into proper spacing, fastening techniques, and maintenance recommendations.
Tip 10: Professional Installation Matters
While DIY installation might be tempting, enlisting the expertise of Premier Roofing’s professionals ensures a flawless vinyl siding installation. Our experienced team is well-versed in industry best practices, guaranteeing a result that meets the highest standards of quality and durability.
Premier Roofing: Your Vinyl Siding Partner
At Premier Roofing, we take pride in our commitment to excellence in vinyl siding installation. With years of experience and a passion for delivering superior craftsmanship, our team is dedicated to transforming your home’s exterior with precision and care.
Ready to embark on your vinyl siding journey? Contact Premier Roofing today to schedule a consultation. Let us guide you through every step of the vinyl siding installation process, ensuring that your home boasts a stunning, durable, and professionally-installed exterior that you can be proud of.